
Most engineers don’t think much about a globe valve until it starts leaking, sticking, or refusing to seat properly — usually in the middle of a production run. Globe valves are workhorses in throttling and on/off service across steam lines, cooling water systems, and process piping, and like any mechanical component, they need a maintenance routine rather than a reactive fix every time something goes wrong.
This guide covers the three things that matter most once a globe valve is already in service: what to inspect and how often, how to replace packing without creating new leak paths, and how to troubleshoot the issues that come up most frequently in the field.
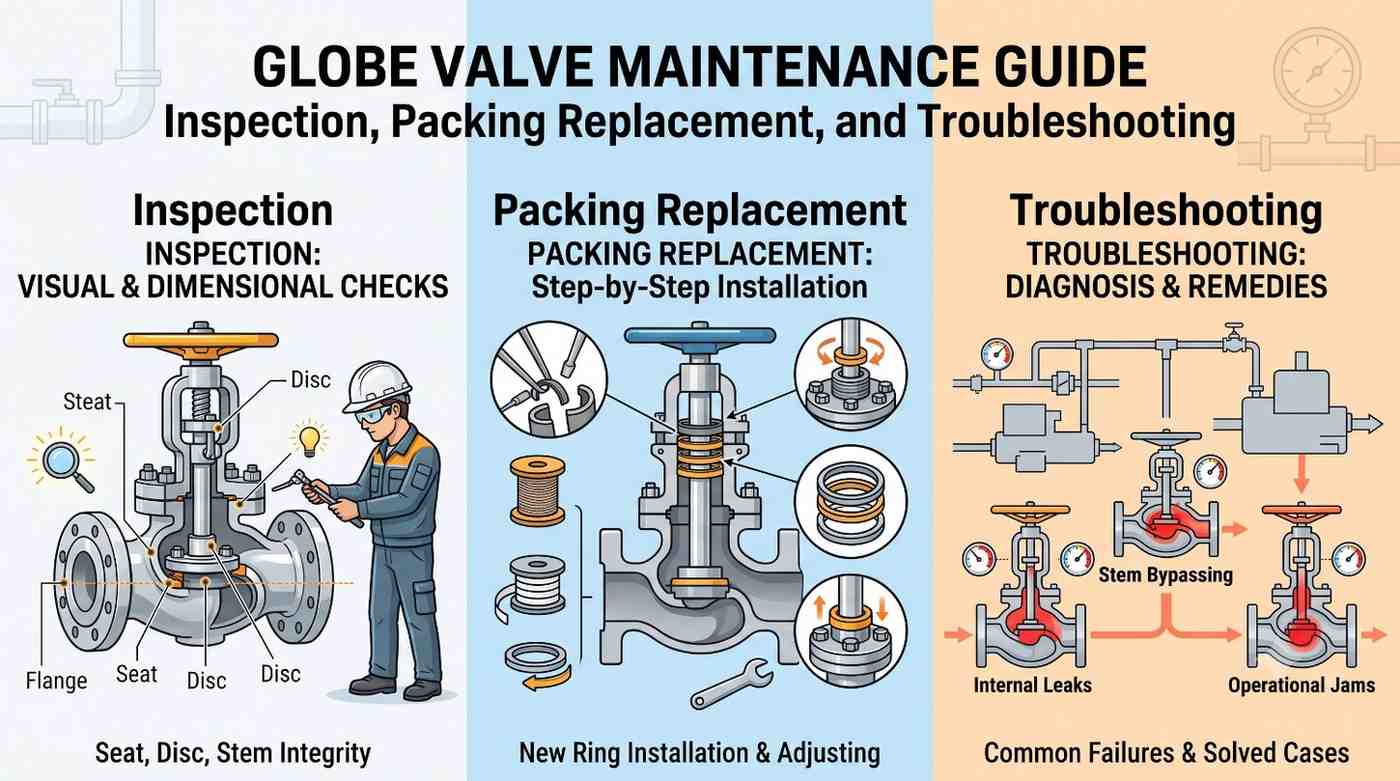
Why Routine Inspection Matters More Than It Seems
A globe valve’s basic job — moving a disc up and down against a seat to throttle or stop flow — looks simple, but the components involved (stem, packing, seat, disc, and bonnet gasket) wear at different rates depending on service conditions. Steam service tends to dry out and harden packing faster than water service. Slurry or particulate-heavy lines erode seats unevenly. Frequent cycling wears stem threads. None of these failure modes are dramatic on their own, but ignored together they eventually show up as a valve that won’t shut off tight, a stem that leaks under pressure, or an actuator straining to operate something that should move freely.
A basic inspection routine, ideally every three to six months depending on duty cycle, should include:
- Checking for visible leakage at the stem packing and bonnet joint
- Operating the valve through its full range to feel for binding, excessive play, or uneven resistance
- Listening for chatter or vibration during partial-throttle operation, which often points to seat wear or oversized valve selection
- Inspecting the handwheel, yoke, and stem threads for corrosion or thread damage
- Reviewing torque/operating force trends if the valve is actuated, since a gradual increase often signals internal wear before it becomes a visible leak
Catching these early is almost always cheaper than catching them after an unplanned shutdown.
Packing Replacement: A Step-by-Step Approach
Stem packing is the most common wear item on a globe valve, and replacing it is usually a planned maintenance task rather than an emergency one — provided it’s caught before the leak gets severe.
- Isolate and depressurize the line. This sounds obvious, but skipping a proper lockout-tagout and pressure verification is the most common cause of packing-replacement incidents.
- Back off the gland nut and remove the gland follower. Take note of how many packing rings are installed and their orientation; matching the original configuration matters for proper sealing.
- Remove the old packing rings. A packing extractor tool makes this far easier than trying to pick rings out with a screwdriver, which risks scoring the stem or the packing bore.
- Inspect the stem surface. Look for pitting, scoring, or wear in the packing contact area. If the stem surface is damaged, new packing will wear out quickly regardless of quality — this is often the point where it’s worth contacting your globe valve manufacturer about a replacement stem rather than just re-packing.
- Install new packing rings one at a time, staggering the ring joints around the stem circumference rather than stacking them in line, which helps prevent a direct leak path.
- Tighten the gland nut gradually and evenly, then operate the valve through a full stroke before final tightening. Over-tightening packing is one of the most common mistakes — it stops the leak short-term but accelerates stem wear and increases operating torque.
- Re-pressurize gradually and check for leakage before returning the valve to full service.
Packing material selection matters as much as the replacement technique. PTFE-based packing works well for general water and mild chemical service; graphite packing is generally preferred for high-temperature steam applications because it tolerates thermal cycling better without hardening. If you’re unsure which material suits your specific service, it’s worth checking with your globe valve manufacturer rather than guessing — the wrong packing material is a common reason valves that were “just repacked” leak again within weeks.
Common Globe Valve Problems and How to Troubleshoot Them
Leakage at the stem, even after repacking. This usually points to a worn or scored stem surface rather than a packing problem. Re-packing a damaged stem buys a little time but won’t solve the issue permanently.
Valve won’t fully close / leaks through the seat. This is typically seat or disc wear, debris caught between the seat and disc, or — less commonly — a warped disc from thermal stress. Flushing the line and re-inspecting the seat surface for damage is the first step before assuming a full valve replacement is needed.
Stiff or hard-to-operate handwheel. Often caused by over-tightened packing, thread corrosion on the stem, or a bent stem from improper installation or excessive force during operation. Lubricating the stem threads and checking gland nut torque resolves a surprising number of these cases.
Chatter or vibration during partial throttling. This is frequently a sign the valve is oversized for the actual flow conditions, causing the disc to vibrate against the seat at certain opening percentages. It can also indicate a worn or loose disc. If resizing isn’t practical, discussing the application details with your globe valve manufacturer can help identify whether a different trim design would resolve it.
Persistent external leakage at the bonnet joint. Usually a gasket issue rather than a packing issue — check bonnet bolt torque first, and replace the gasket if torque is correct but leakage continues.
When to Call Your Globe Valve Manufacturer Instead of DIY-Fixing It
Routine packing replacement, gland adjustment, and basic inspection are well within the scope of an in-house maintenance team. But a few situations are worth escalating to the original globe valve manufacturer or a qualified valve service partner: persistent leakage after repacking, visible stem or seat damage, valves operating outside their original design pressure or temperature rating, or any situation where the valve is part of a safety-critical line. Manufacturers familiar with their own product line can usually identify whether a part needs replacement or rebuild faster than trial-and-error troubleshooting in the field — and working with one that stocks genuine spares for their own valves (rather than a generic aftermarket supplier) tends to save time when a stem, seat ring, or bonnet gasket needs replacing.
Manufacturers based in established industrial hubs — Flowjet among them — typically support this kind of post-purchase service, since spare parts availability and field guidance matter just as much to long-term reliability as the original valve quality.
Final Thoughts
Globe valves are forgiving for a while, which is exactly why they tend to get neglected until something fails. A simple inspection schedule, knowing how to repack correctly rather than just tightening the gland until the leak stops, and being able to recognize the early signs of seat or stem wear will extend service life considerably and cut down on unplanned downtime. When a problem goes beyond routine maintenance, looping in the valve’s manufacturer early — rather than after several failed repair attempts — usually gets the line back in service faster.